HFSS project setup for pyEPR#
This page explains how to prepare an Ansys HFSS project so that pyEPR can extract energy-participation ratios from it. The steps apply to eigenmode designs (the most common case) and to driven-modal designs used for dissipation analysis.
Note
pyEPR ≥ 0.9.2 supports Ansys AEDT 2021.2+ (renamed solution types) and AEDT 2024.1+ (hybrid-default design creation) transparently. Always use the latest pyEPR with the latest AEDT.
Eigenmode design setup#
Step 1 — Create a driven-modal or eigenmode design#
Use project.new_em_design(name) (eigenmode) or
project.new_dm_design(name) (driven-modal) to create a new design from
Python. The helper methods apply the correct SetSolutionType call on
AEDT 2024.1+ to avoid the hybrid-mode default.
Alternatively, create the design in the HFSS GUI: Project → Insert HFSS Design → Eigenmode (or Driven Modal).
Step 2 — Define the circuit geometry#
Draw your superconducting circuit geometry in the HFSS 3D Modeler. Typical components:
Metal traces / pads (assign Perfect E boundary condition)
Substrate (assign appropriate bulk dielectric material)
Air box (assign Radiation or Perfect H boundary)
Step 3 — Define junction rectangles and polylines#
Each Josephson junction requires two HFSS objects:
- Junction rectangle
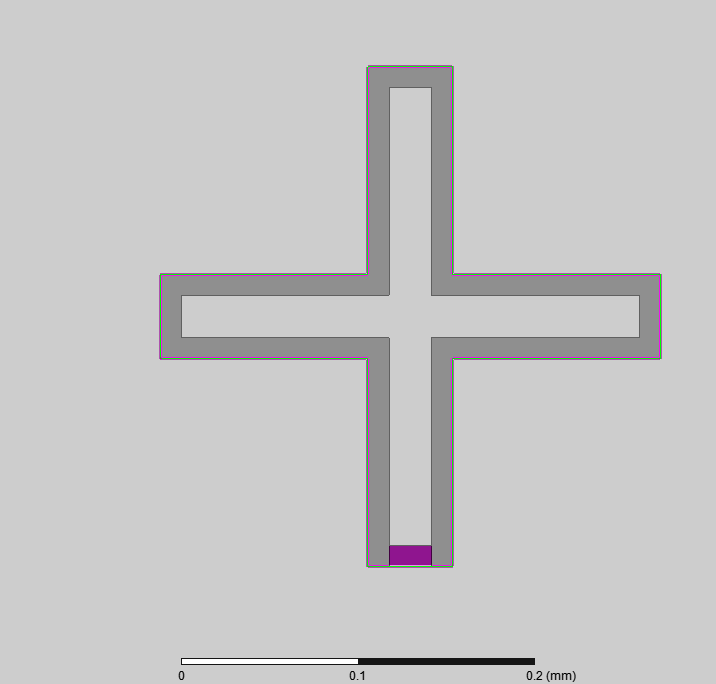
A rectangle surface placed across the physical junction gap. Recommended size: 50 µm × 100 µm (orders of magnitude smaller also work).
Assign a Lumped RLC boundary condition on this rectangle.
Set the inductance to an HFSS variable (e.g.
Lj1). Do not use global variables prefixed with$.Optionally set the capacitance to a variable (e.g.
Cj1).
- Junction polyline
A
Model → Polylineobject that spans the full length of the junction rectangle, following the direction of current flow.Define it in the object coordinate system of the junction rectangle so that it moves with the geometry when parameters are swept.
The polyline orientation sets the sign of the zero-point flux fluctuation \(\varphi_j^\text{zpf}\).
In Python, register each junction with ProjectInfo:
pinfo.junctions['jQ1'] = {
    'Lj_variable': 'Lj1',    # HFSS variable name for inductance
    'Cj_variable': 'Cj1',    # HFSS variable name for capacitance (optional)
    'rect':        'rect_jj1',  # name of the Lumped RLC rectangle
    'line':        'line_jj1',  # name of the polyline
}
Step 4 — Simulation setup#
In HFSS → Analysis → Add Solution Setup:
Solution type: Eigenmode
Minimum frequency: set slightly below your lowest expected mode
Number of modes: typically 2–6 (include all modes you care about plus a buffer)
Maximum passes: 10–20
Maximum delta-F: 0.1 % is usually sufficient; tighten to 0.01 % for publication-quality results
Basis order: Mixed Order is recommended
Step 5 — Mesh refinement#
Apply Refine at Normal mesh operations to the thin-film metal surfaces.
Apply a Length-Based mesh to the junction rectangles (5–10 cells across the short dimension).
Run at least one adaptive pass and inspect the convergence plot before proceeding with pyEPR.
Step 6 — (Optional) Optimetrics sweep#
If you want to sweep a junction inductance (e.g. to simulate flux-tunable qubits), add a Parametric analysis under HFSS Optimetrics:
Right-click Optimetrics → Add Parametric.
Add
Lj1as the sweep variable.Important: Enable Save Fields and Mesh for each variation (right-click your Parametric setup → Properties → Options). Without this, pyEPR cannot extract fields for non-nominal variations.
Verifying your setup with pyEPR#
import pyEPR as epr

pinfo = epr.ProjectInfo(
    project_path = r'C:\path\to\project',
    project_name = 'my_chip',
    design_name  = 'eigenmode_design',
)
pinfo.junctions['jQ1'] = {
    'Lj_variable': 'Lj1', 'Cj_variable': 'Cj1',
    'rect': 'rect_jj1',   'line': 'line_jj1',
}
pinfo.validate_junction_info()  # raises a descriptive error if anything is wrong

eprd = epr.DistributedAnalysis(pinfo)
eprd.quick_plot_frequencies()        # check modes look sensible
eprd.hfss_report_full_convergence()  # check convergence before extracting EPR
Common pitfalls#
Symptom |
Fix |
|---|---|
|
The HFSS object or variable name is wrong, or the design is not open. Check names with exact capitalization. |
EPR participation ratios are near zero for all modes |
The junction rectangle is not correctly assigned the Lumped RLC BC, or the inductance variable evaluates to zero/infinite. |
Parametric sweep gives results for only the nominal variation |
“Save Fields and Mesh” was not enabled. Re-run with it enabled. |
COM error on opening HFSS |
Check the project path for special characters (apostrophes, colons). Manually open HFSS first to confirm it is not showing an error dialog. |
Negative or > 1 participation ratios |
Usually indicates a meshing or convergence issue. Tighten the adaptive delta-F and re-solve. |
HFSS refuses to close after the script |
Call |
AEDT 2024.1 creates a Hybrid design unexpectedly |
Use |